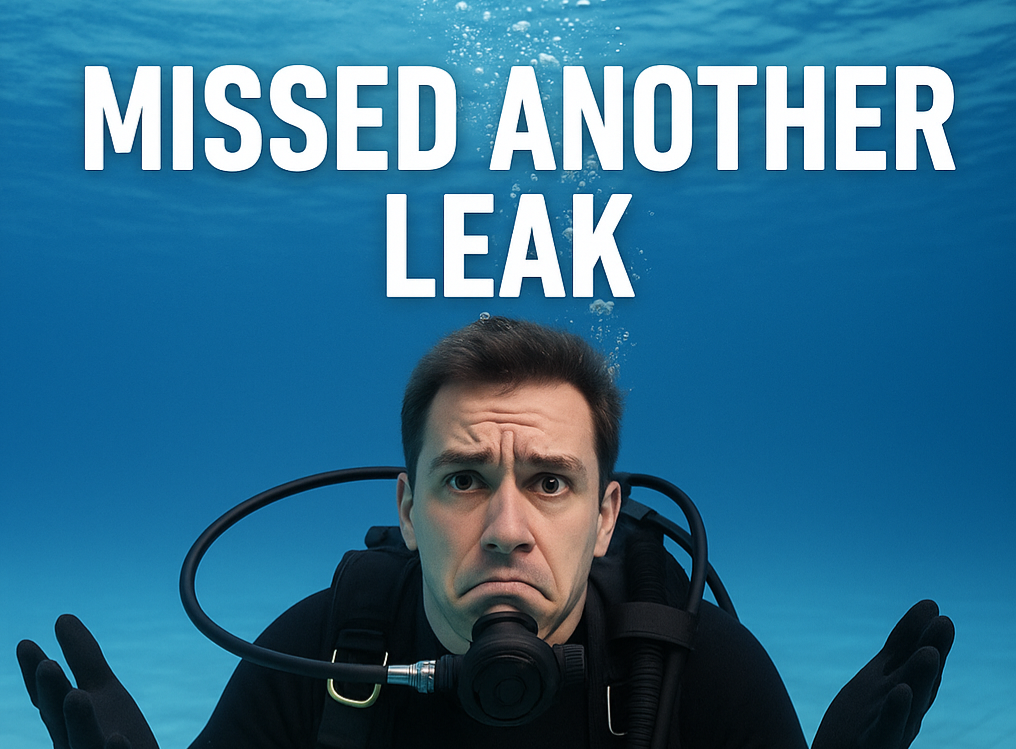
When a Diver Says “We Found Nothing” — What That Really Means
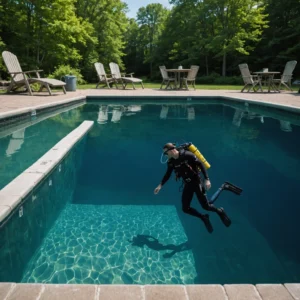
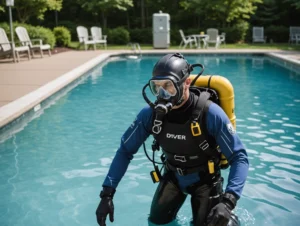
If a pool diver finished an inspection and reported “no leaks found,” you still might have a leak. In fact, many leaks aren’t visible inside the pool at all. They hide in underground plumbing, skimmer throats, return lines, main drain conduits, cracked fittings, and equipment pad connections. Consequently, a diver’s quick look doesn’t prove your pool is watertight—it only proves they didn’t see something underwater that day.
Why Divers Miss Active Leaks
- Most leaks are in pipes, not the shell: A large share of pool leaks originate in underground plumbing or equipment, which divers cannot test by swimming.
- Pressure-dependent leaks: Some leaks open only when the system runs. A still-water dive won’t recreate pump pressure or vacuum conditions.
- Dye tests have limits: Dye only works when water is calm and the leak is near the test point. Micro-cracks and hairline liner holes can evade dye.
- Visibility & time: Cloudy water, algae film, rough surfaces, and rushed visits reduce the odds of spotting tiny defects.
- Hidden fittings & conduits: Cracked skimmer throats, loose return fittings, light-niche conduits, and step jets can seep without obvious visual cues.
Telltale Signs You Still Have a Leak
Even after a “no leak found” report, look for these red flags: accelerated water loss beyond normal evaporation, air bubbles in returns, difficulty holding prime, soggy spots near the pool deck, a rising water bill, or frequent need to add water. Additionally, if the pool loses more water when the pump is on (or off), that pattern often points to a specific type of plumbing issue.
Proper Leak Detection Goes Beyond a Dive
A comprehensive, technology-led process tests the entire system—shell, fittings, and underground lines. Here’s what a thorough approach includes:
- Systematic isolation: Cap and isolate lines (skimmer, returns, main drain, spa, water features) to narrow the search.
- Precision pressure testing: Apply controlled air/water pressure to each line and monitor for drop—this confirms a plumbing leak.
- Acoustic pinpointing: Use sensitive geophones/microphones to listen for escaping air/water and locate the break under concrete, deck, or soil.
- Dye & visual confirmation: After plumbing is cleared or confirmed, use targeted dye tests and camera inspections for shell, fittings, and conduits.
- Video inspections (as needed): Send specialized cameras through accessible pipes and conduits to identify cracks, roots, or separations.
What To Do If You Were Told “No Leak Found”
- Document water loss: Perform a 24–48 hour bucket test with/without the pump running to establish a baseline.
- Track patterns: Note whether loss increases with the system on, off, or unchanged—this clues which circuit might be affected.
- Request full-system testing: Ask for line-by-line pressure testing and acoustic locating—not just a visual dive.
- Expect a clear report: A professional should provide a written summary, test results, and a precise mark-out of leak locations before repairs.
Common Places Leaks Hide (That Divers Can’t Prove By Swimming)
- Skimmer throats and cracked skimmer bodies
- Return lines and fittings under deck concrete
- Main drain lines and conduits
- Light niches and electrical conduits
- Equipment pad unions, valves, and PVC elbows
FAQs
Could evaporation be the only cause?
What if the leak is intermittent?
Do I need to drain the pool for proper testing?
Next Step: Book a True Leak Detection Assessment
Don’t settle for “we found nothing.” Instead, insist on comprehensive diagnostics that isolate lines, apply pressure tests, and use acoustic locating. With clear data, you’ll know exactly what’s leaking, where it is, and how to fix it efficiently.
